
DODGE Viper II
DUAL HOOD VENT GRILLES
PART # ACC-962018
INSTALLATION INSTRUCTIONS
PARTS INCLUDED:
 2 x Lower Brackets w/4-clip nuts attached w/neoprene gasket and
attachment tape
2 x Lower Brackets w/4-clip nuts attached w/neoprene gasket and
attachment tape
2 x Perforated Grilles
2 x Stainless Top Frames w/attachment tape
1 x Small Coil Butyl Putty
8 x 3/4”Black Washer Head screws
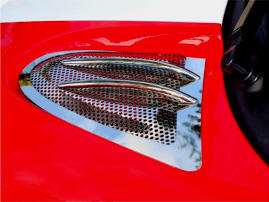
These new grilles are finally the upgrade you have been looking for to eliminating that "speaker" grille stock look. The grilles are a three piece kit (see figure 1) designed to install easily and have been constructed of the finest materials. The three components are made of 304 stainless laser cut to a perfect fit. The main grille section is a stainless 16ga perforated insert (powder coated to a beautiful high gloss finish…some models only) crowned with a stainless 20ga mirror polished frame to provide you with a top-of-the-line grille upgrade you just won’t find anywhere else.
The two top frames of these grilles come to you with a clear protective liner. Do not remove this liner until installation is complete.
- Remove the two factory grilles from the hood. Start by locating the accessing the four holes under the hood at each of the four screw locations. CAREFULLY remove the screws so that they do not fall into the hood sub frame. You can accomplish this by using the butyl putty provided. Simply apply a small pearl size ball of the putty to the tip of your #2 Phillips screw driver and back each of the screws out slowly (Figure 2 & 3).
-
Since the hood design of your viper is a little unusual it may serve
you very well to have a friend assist you with the removal and
installation of the grilles (Figure 4 & 5). After you have
successfully removed the the factory grilles clean the grille socket
in the hood to remove all road grime and dirt.
-
Have an assistant place the grille base into the hood sockets and
line up the hole locations with the bases clip nuts Figures 7 & 8).
Starting with the two front screw locations insert the new washer
head screws provided into the holes and start the thread so that
they become attached but do not tighten just yet.
TECH TIP: Use masking tape and secure the screw to the driver to prevent the screw from falling into the hoods sub frame as you locate and start the screw (Figure 5). The two rear screws are a lot easier to access and start. Once you have all four screws started have your assistant seat the base plate nicely into the hood socket as you tighten the four screws to permanently secure the base plate. Perform this procedure for both sides. Once you have completed this you may close the hood.
- The
most challenging part of this installation is now completed. Place
the perforated section into the grille base you just installed
(Figures 9 & 10). It should fit nicely just inside the red release
liner of the base's attachment tape border. Before you permanently
attach the outer Top frame section place it into position over the
perforated section and grille base to familiarize yourself with its
position. (Figures 11, 12 & 13). A properly placed top frame
will fit into the hood grille area without touching the hood's paint
and should have a nice even gap of about a 16th of an
inch all around its outer edge.
IMPORTANT Please understand that when you are ready to permanently install the top frame to the base that you place it in position exactly correct as the attachment tape is VERY aggressive and will not allow you to reposition once you have made contact so proceed very slowly and accurately.
-
Once you are clear on its position and how you will place the top
frame peel the red release liner from both of the top frames as well
as the base and carefully press the two sections together. Once you
have successfully bonded the top frame to the bottom base peel the
protective liner to finish the installation (Figure 7).
-
If your Hood Vent Kit came with "spears" see figure15, you will
mount these last. Peel and stick in please as shown in the
photo of figure 15.
Note: Your product may look slightly different than some of the pictures shown below, as they were taken with the prototype part. Your grille will be polished as opposed to black in the pictures.
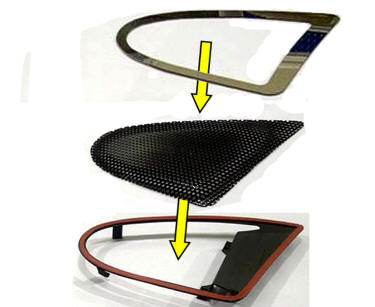
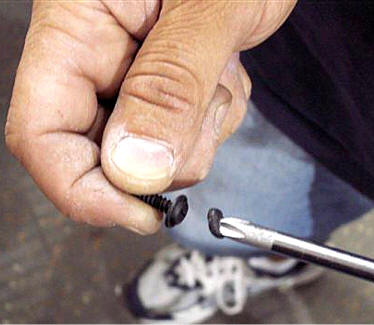
Figure 1
Figure 2
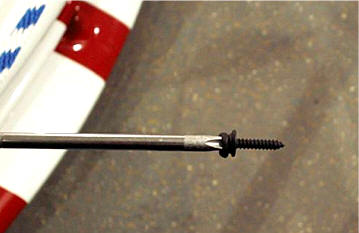
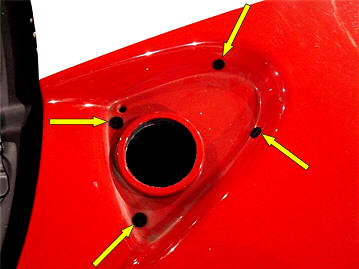
Figure 3 Putty applied Figure 4 (note the mounting screw holes - yellow arrows)
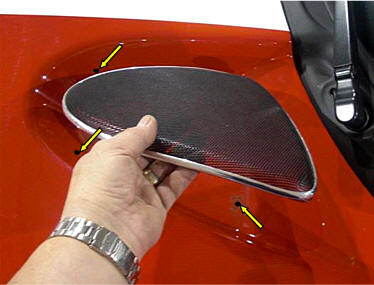
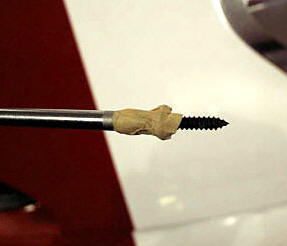
Figure 5 Figure 6
Taped screw so it won't fall off screwdriver
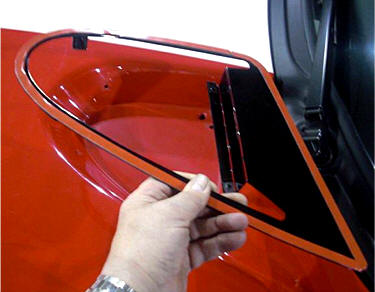
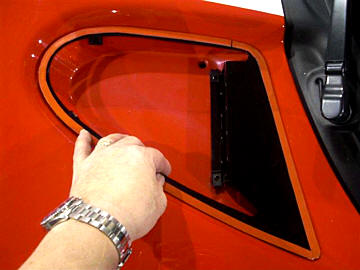
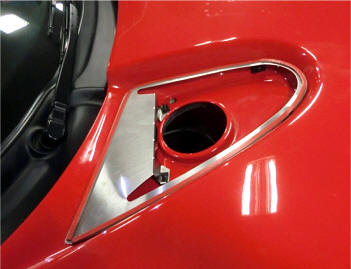
Figure 7 Figure 8
Shown with the polished grille frame
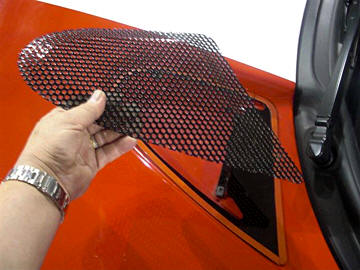
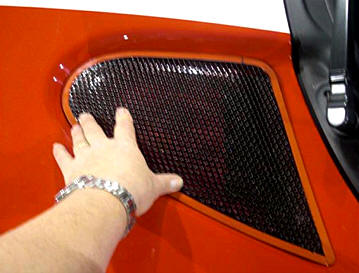
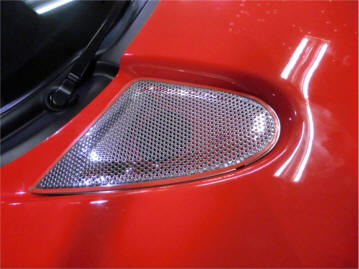
Figure 9 Shown with Black Grille Figure 10
Shown with the polished grille

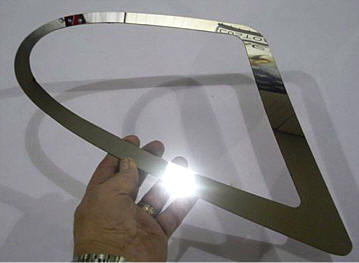
Figure 11
Figure 12
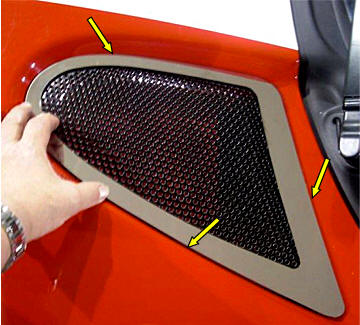

Figure 13 (Note the 1/16th inch gap keeping
the vent away
Figure 14
from the hood paint)
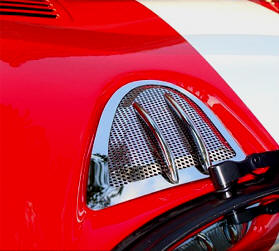
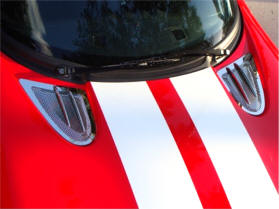
Figure 15