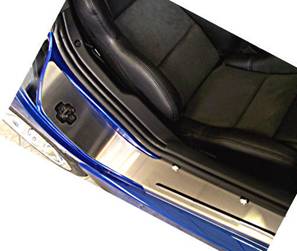
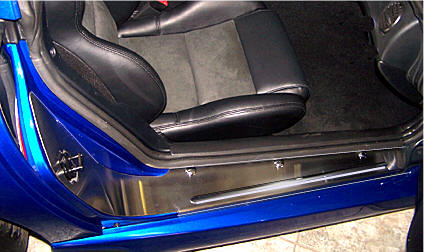
DODGE Viper SRT10 Full Stainless Steel Door Sills
PART # ACC-971007 or ACC-971008
INSTALLATION INSTRUCTIONS
PARTS INCLUDED
2 x 2pc Stainless Doorsills (polished or brushed)
2 x Adhesive
Promoter Packs
1 x Test Tape Kit
6 x 3/4" - 6mm button head
6 x Washer head style #8 screws 3/4"
6 x Decorative Bolt Head
Covers
2 x Large "Viper SRT-10" stickers
Your new sills come with a protective liner do not remove liner until prompted by instructions.
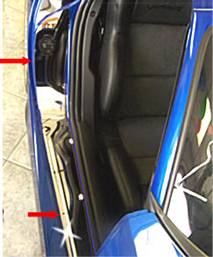
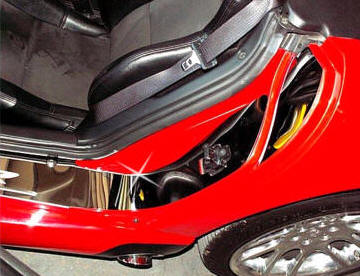
1. Remove the 3 factory screws
from each side of the car. NOTE: These will not be
reused. Save them incase you remove the door sills one day.
We have provided two different sets of screws (6 -
3/4" - 6mm button head and 6 - Washer head style #8 screws 3/4") replace
the factory screws depending on which kind you have on your car.
You will use one set or the other whichever fit correctly.
2. Prepare the area by using rubbing alcohol; scrub clean the entire sill area all the way up to and around the door catch. Swipe the area of the sill around the door catch down to the first screw area with the adhesive promoter provided.
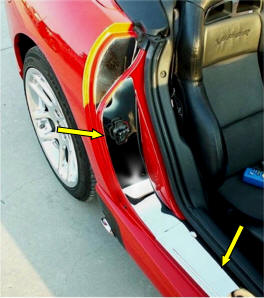
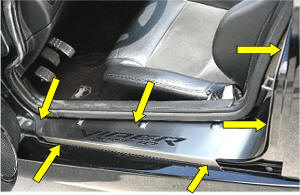
3. Next you will need to hand shape the door catch part of the sill section so that it matches the shape and contour of the door sill area perfectly. A properly shaped section should be able to set in place and sit flat without forcing any part of it to lie down. With the section nicely formed simply peel the red release liner from the back of the section and then carefully set it in position pressing firmly against the entire surface to set the part. Remove the protective liner.
4. The main door sill section can now be set in place over the end of the catch section and bolted on using the three replacement screws provided. These screws need only be snug and should not be over tightened as this will cause the sill to become distorted. Once the bolts are in place remove the rear protective liner and attach by pressing on to the top of each screw head the three decorative chrome bolt head covers.
5. Repeat process for opposite
side.
If
any questions occur during installation, please contact us at 352 688
8160 M-F. Thank you and enjoy your new purchase.
NOTE:
Care must be taken when cleaning your sills. It is a good idea to
lightly dust your sills with a clean soft
cloth first in order to prevent any particles from scratching them. Then
wipe (using a new clean soft cloth) with a good quality streak free
glass cleaner.
6. Repeat steps 1-4 for the opposite side.
7. Mount stickers
(included) in center of door sill floor plate.
If any questions occur during installation, please contact
admin@TheViperStore.com
.